A place to display my crafts, card making, scrapbooking, and news

Crafts, cardmaking, scrapbooking, and day to day

Wednesday, July 30, 2014

DIY enamel mini dots from mini pony beads

Yes, I am at it again with melting plastic dots in my oven and fuming up the house. This time I was caught and asked what I was doing. As a disclaimer, the fumes are bad and I have stove fan on and all windows open with all ceiling fans on. The fumes went away fast. The crazy things I do to save money are a bit biazarre. I was not the first person to think "oh let's melt this plastic in my oven and see what it does". And Carla from racin crafts was not either I am sure. So, the normal sized pony beads did not equal the cute little dot embellishments I have had my eye on. I went to Joann's and with a coupon, I think they were 2.99 for 1,500 of them. That's a lot cheaper to make them. I choose this one because I liked the colors, but it am thinking clear might be interesting to try out too. Oven was at 400 again. This time for 12 mins. Turned out well, a few stuck together but I liked the look. No project to show yet, but here's my pictures of the process:
This is what beads looked like on my waxed paper lined cookie sheet before baking.
Close up of them baked with orginal unbaked beads so you can see the difference.

All baked! This shows the bottoms as smooth like the bigger ones.
 
I am storing my enamel dots in old baby food jars. They work perfectly! On the left is the regular sized pony beads and the right is the mini beads.


Thank you for stopping by! I will use them on a project and post for sure soon. I need now to remind you that as of 7/31 CTMH is retiring some great stuff. Act fast! www.fromtheheart.ctmh.com #diycrafts #fumes #cheap #funtomake


Monday, July 28, 2014

DIY Enamel dots

I love the idea of making things myself, especially if it is cheaper. I watched a great tutorial from Racin Crafts blog, http://racincrafts.blogspot.com/2014/06/diy-ennamel-dots-from-pony-beads.html?showComment=1406574187238 and thought I would try it out myself. I put a piece of wax paper down on a cookie sheet and set my oven at 400 degrees. While it was heating up, I spaced out plastic pony beads so there was enough room for them to melt without running together. I ended up baking for about 15 minutes. The only two downsides are they are bigger than what I thought they would be and there were a lot of fumes while they were baking. Finished size I would compare to skittles. Here's what they look like after they were done:
The bottoms of the dots are perfectly flat. I will let you know when I make my card what adhesive works best.


Sunday, July 27, 2014

Apron card

Thank you stopping by!
Cathy of http://cathyplus5.blogspot.com/ had this amazing card on her facebook account.
Photo: this card I saw on pinterest and while serching the web..I saw someplace i could buy the template for $2.00 but decided to wing it... made my own template. Have not decided on sentiment yet
Here's how I made my version of this card:
 
I made my card out of CTMH Buttercup the width is 5.5 and then I folded the 12 inch paper which made the height 6 inches. Cathy said she traced a jar lid for her card. I traced around a lid I had on both sides with a pencil and then when I got close to the top, I drew my line straight up.
 
I cut out both sides on the pencil line. I used the cut  piece to make the pocket for the apron. I swiped lagoon ink over the piece and then aded the zip strip from the top of the skyline paper. Pictured above the card is what the piece looked like before I colored it with lagoon. Then I put bronze shimmer tape down the middle to cover the fold and I glue around the edge of the piece to make a pocket and cut the sides even. I stamped the heart from the Sweet and Lovely stamp set that comes with Artbooking Cricut collection.
 
 
I punched two holes in the top and tied a knot at the end of both sides of the cocoa ribbon in the back of the card. I also
 scotch taped the ends down on the back so it would hold up better in the mail.
 
 
Here's the card in better lighting:
 
After I finished the card, I thought it needed something else. I added a pearl to the heart and then sentiment pulls out of the apron pocket. The edges were inked with a spongewith lagoon ink and so were the edges of the zip strip before glueing to pocket.
Here is the card with the sentiment hidden:
Products used can all be found on my CTMH website: www.frommtheheart.ctmh.com
Get this paper only thru 7/31/14!
Skylark expires 7/31/14 also, get it before it's gone!
Cocoa ribbon was retired and in my stash. Pearl was also from my stash. Shape inside was from a retired flower pot stamp set. stamped in slate and lagoon.
Thank you for reading my blog to the end. I would love it if you would follow my blog.


Thursday, July 24, 2014

Happy Birthday to me!!!

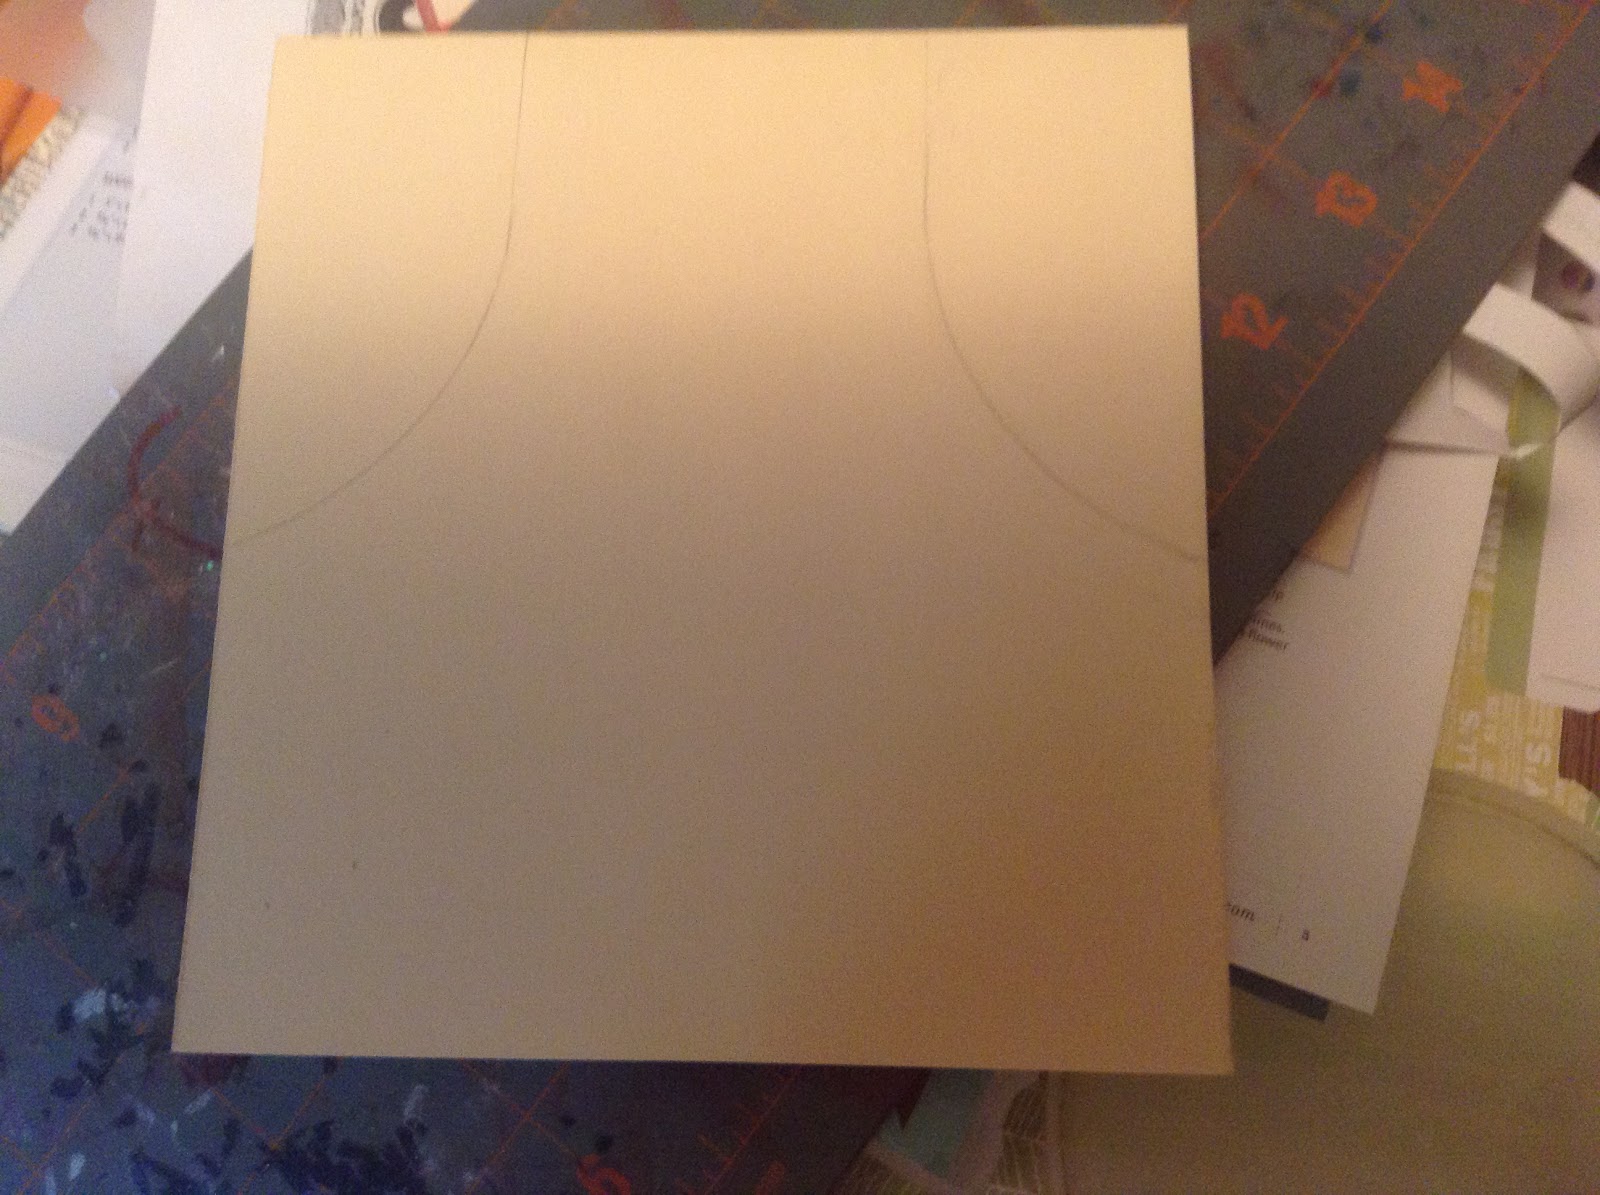
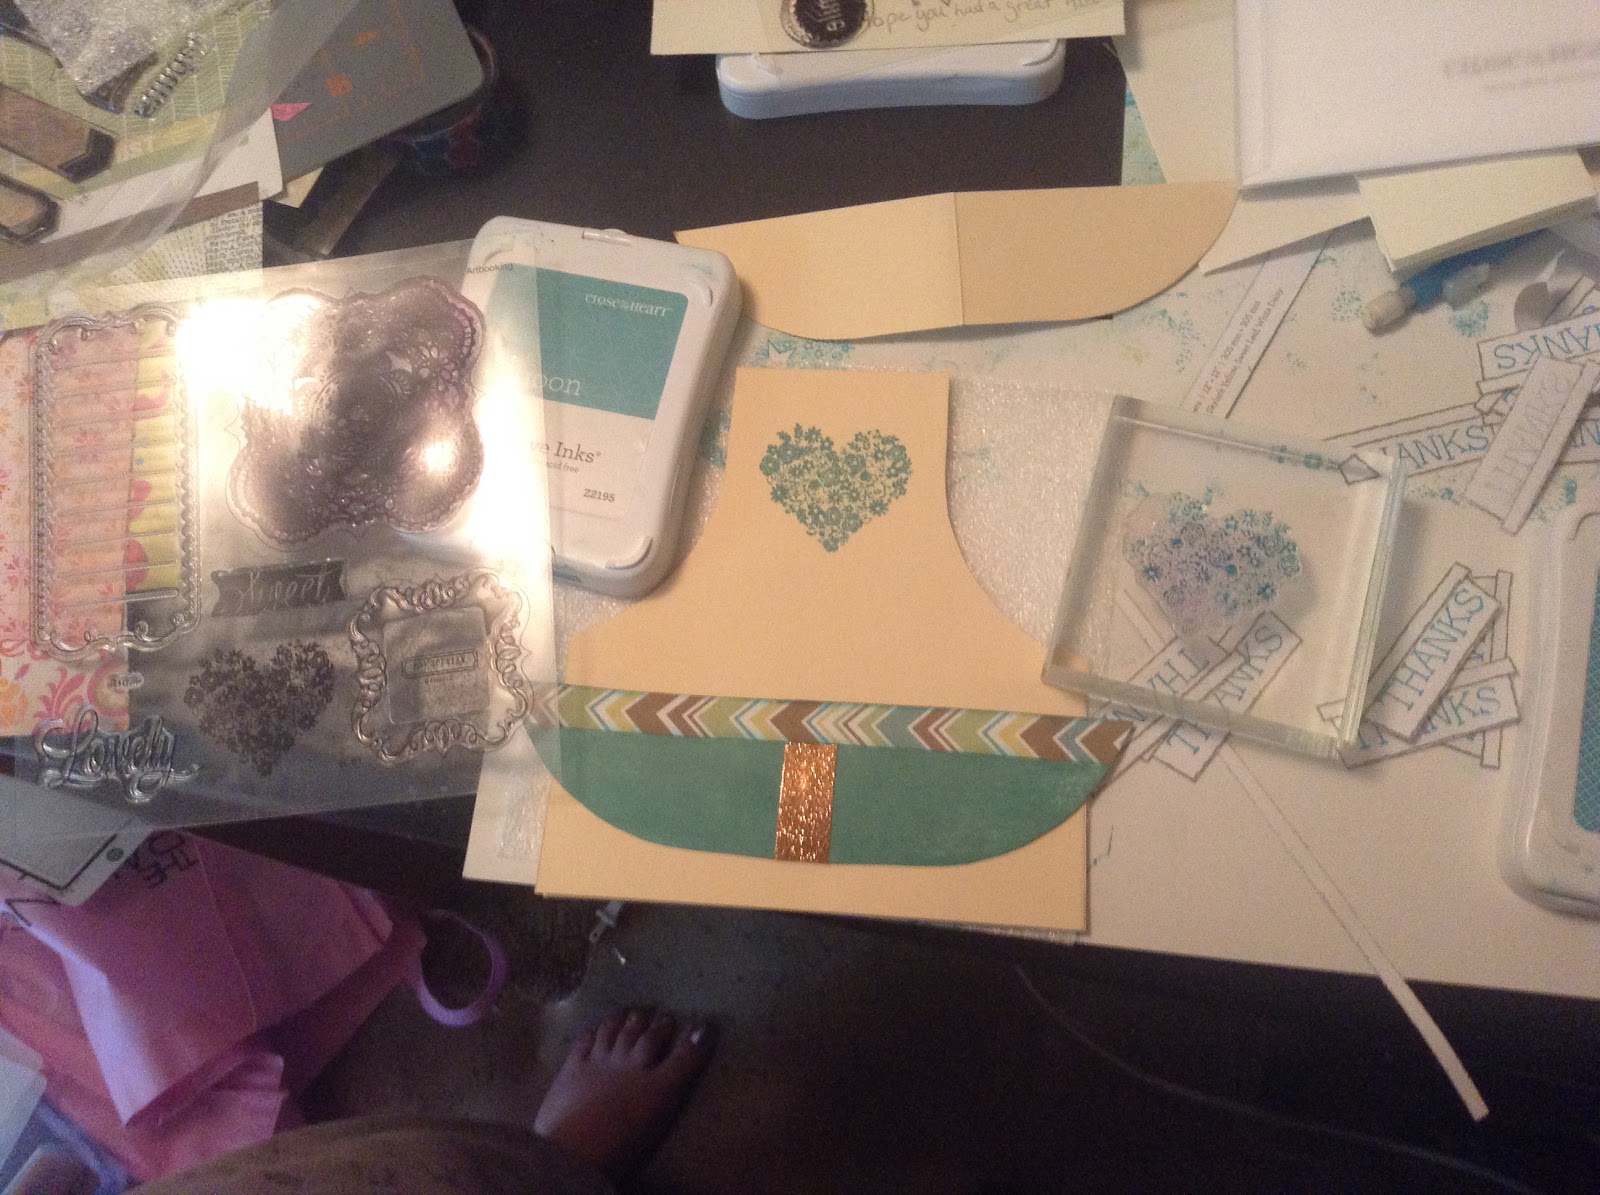
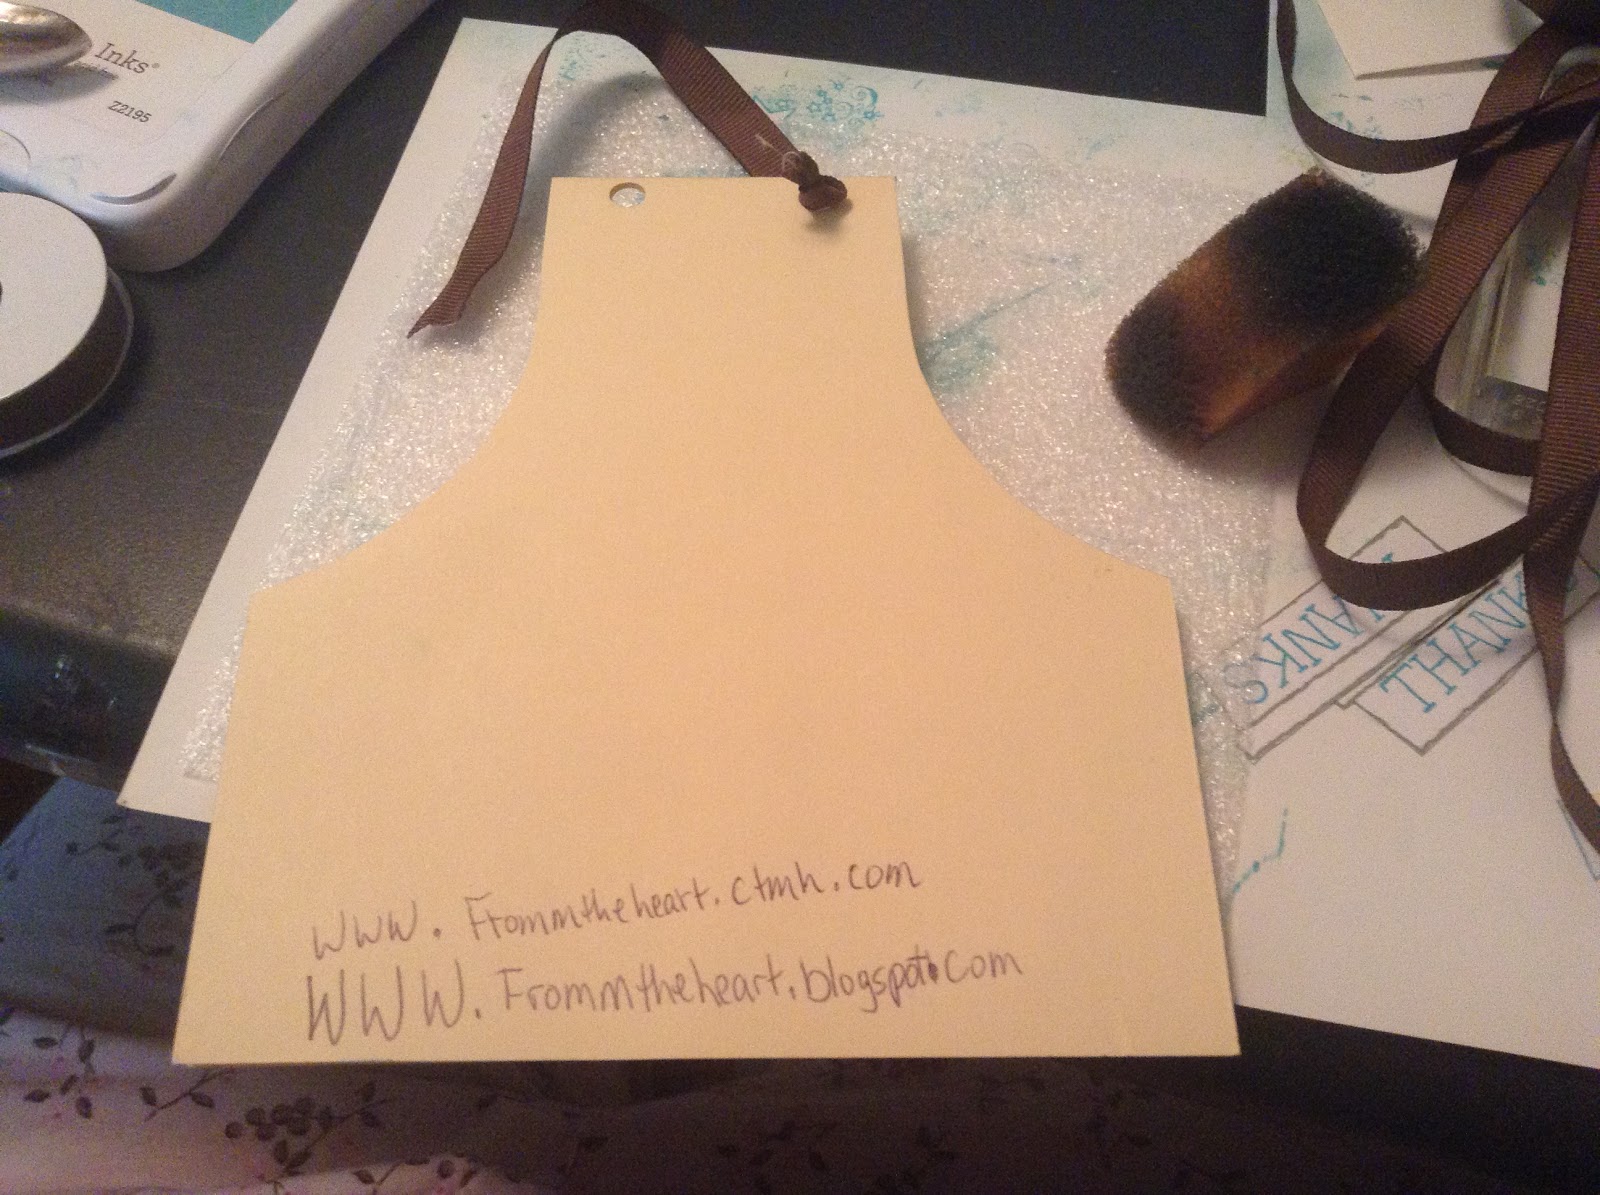
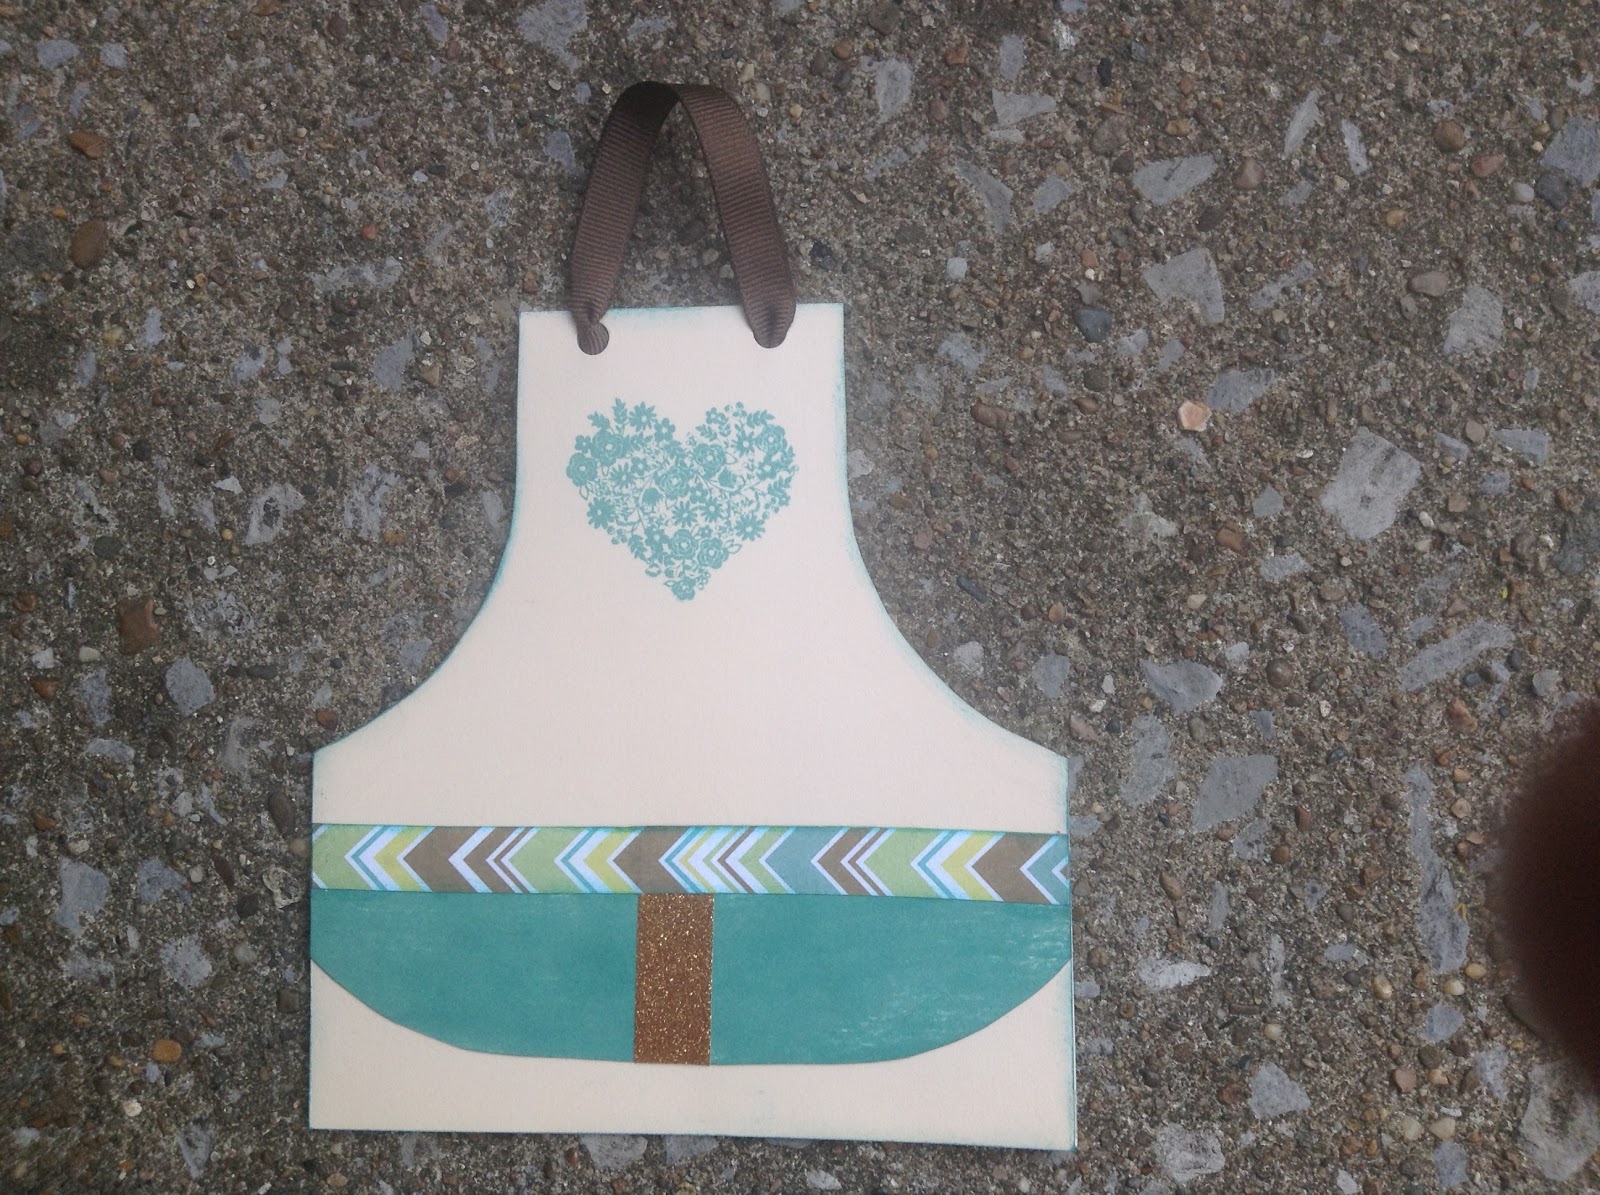
I just ordered lots of goodies for my business and I am so excited to show you them. I hope everyone is excited because these new products come out to buy 8/1, yes that is next week!!!  I am still anxiously awaiting the announcement of the release of the new Artfully Sent Cricut collection.
This collection is all about the card making and that is what I love to do the most. I ordered all the new CTMH alcohol markers they are professional grade that compete against copics. I am so excite to start coloring. I have been watching a lot of others with them to be able to start as soon as they arrive. I ordered base and bling to make some necklaces. I can't wait to show them off!   It's been a very nice birthday. My friends at work decorated my office. I had a free birthday coffee from Starbucks and a great lunch and dinner out. Plus I had a ton of really great messages. Project Runway premiered tonight and I went to my parents just to see it since I don't have cable. As soon as the second Hobbit movie is done, I'm watching it an fast forwarding thru commericals. Movie was great and Project Runway was great too. Here's what google greeted me with this morning(7/24):
Here's the decorations my coworker's did for me:


Wednesday, July 23, 2014

Days of the week paper clips with CTMH artbooking

I am uploading a video to add to this, but for right now, here's a peak at the project.
Here's the video!!! I figured out if you turn off the background appls on the ipad and the screensaver, youtube videos load faster.

Tuesday, July 22, 2014

Hummingbird and skylark card

There's been a bunch of birthdays lately and I am trying to catch up in posting about them. My adopted cousin had a birthday two weeks ago and so I helped my mom make her first card to send to her and then I made a card as well. My mom's card was inspired by the farewell card I made recently.
Here's mom's card with her own take on it.
Here's the inside of her card:
Her card used stamp set from the reitired CTMH Veranda Workshop on the Go called Follow Your Heart. Also she added elements cut from CTMH Skylark paper pack that is retiring the end of July which means if you want it, order from me now!
Here's my card that also used the Skylark paper and same shaped card:
I cut the blue bird out of a different part of the same paper and added with foam tape to stand out nore. Here's the inside of the card:
 
 I used my skylark stamp set for the dragonfly. The sunflower stamp set is from my retired stash and I have enjoyed using it a lot lately. The neat thing about it is you layer the same ink color for two different parts together and it adds shading. I may have to make a video about this stamp set, I love it so much. It was one of my first orders 8 years ago and I have been figuring out more and more ways to use it. My favorite flower is sunflowers. They are the happiest flower to me. I hope cousin Rosie had a great birthday. She lives in Missouri and had just been down to visit. I loved showing mom my favorite CTMH products and how to use them. She was stamping like a pro in not time. The quality of CTMH stamp sets and how clear they are make placement so easy! Here's where you can order these supplies" top note card , skylark paper  , cocoa ink, lagoon, desert sand , blush, sweet leaf, retired sunny yellow, and a gold marker."  Thank you for stopping by!!
 

Monday, July 21, 2014

Frozen style fairy card

I took more pictures in the making of this card so that it could be a bit more detailed and more step by step. My friend, Alicia's birthday was the 18th, and she loves the movie Frozen and she loves fairies. Well, I didn't have either so I made a version of both with the same color palette and some stamps.
I took a small cinderella stamp from my stash and added these butterfly wings to make my winter fairy.
I just stamped both on white paper, colored with coloring pencils and then cut out and added together. The wings have perfect pearls on them to give that shimmer effect. What fairy is not complete without her fairy dust?
I used a fiskers snowflake edge punch on the card and on the edge of the envelope. I used the top shown stamps to make the wintery scene in the background of the card. I used CTMH Artiste collection stamps for sentiment and inside of the card as well as the snowflake punch.
Colors used to stamp was CTMH crystal blue ink and a purple marker. The winter stamp was used twice side by side with the snowflake stamp above to make it appear that our pretty winter fairy is wandering around enjoying the beautiful forest.
 
This was the inside before I wrote my message. I hope my friend, Alicia, had a very Happy Birthday. I was able to have dinner and cake with her the day before. Thank you for stopping by! It would be wonderful if you would follow my blog here. Papers used were from my stash. It would also be helpful to have suggestions on what kinds of things you'd like to see me make here. I am a new consultant for Close to My Heart and I have just placed my first order so brand new fun stuff is on it's way soon! Until then though, I have a few past projects I haven't showed yet. It's my birthday week, so I am celebrating by making and adding as many projects as possible. I am hoping for a project a day until the 24th.


Sunday, July 20, 2014

First Youtube video

I filmed this video in May and thats how long I had been trying to figure out why it wouldn't upload. I learned a few things in imovie today and was able to add music and get the upload to work. I am currently uploading video I edited together of my friend's Marla's daughter's first birthday. I am new to videos and to video editing, so please hang in here with me. This video was just a trial run to see if it would work. Videoing is a lot of fun. I am working on ideas for future videos and blogs.  Without futher rambling, here is my simple cupcake topper video.
I hope you liked the video. Thank you for stopping by!

Wednesday, July 16, 2014

Help me grow my business

Who wants to have fun creating? Anyone that books or orders from me this month is getting a free mini stamp set. If you refer people here to my blog and they follow my blog and comment on my blog they were referred by you, you both will get a free mini stamp set. This is the last month to order from this catalog of great items. August 1st starts the new catalog. Check out the retiring list to see all the wonderful products that are while supplies last. Contact me if you want to have your own gathering online or in home. As a hostess, you get great specials. Currently, I have my own gathering available for you to shop my store online. You will get the mini stamp set from for ordering or referring a friend. And as an added bonus, if you do book a gathering, refer your friends, and make a purchase, I will give you something else from the new idea book coming out!! Click here to order from my gathering http://frommtheheart.ctmh.com/Retail/Category.aspx  Here's the mini stamp set.
Photo: This is what you will win for helping my business! Look for rules on the previous entry. My blog is www.frommtheheart.blogspot.com
Here's my workshop kit ready to go.

 
Photo: My workshop kit is ready to go. Who wants to have fun creating? Anyone that books or orders from me this month is getting a free stamp set. Look in comments for picture. If you refer people to my blog and they follow my blog and comment on my blog they were referred by you, you both will get a free mini stamp set.

Sunday, July 13, 2014

Butterflies cut from CTMH cartridges

I cut the big butterflies at fit to page setting and smallest was around 3.5. These were for decorating coworker's farewell party. I used all three CTMH collections.


Friday, July 11, 2014

Hummingbird, sparrow, snapdragon farewell card

One of my closest colleges last day is this Friday, so I have been busy making things for her final day.    I had so much fun making this card background. I love the retired paper packet CTMH  Veranda paper packet shown in the 12x12 page above the card. I didn't feel up to cutting it up as I had wanted to frame it in a page later on. I stamped the snapdragon and hummingbird images that came in this kit on the right side of the card while looking to the paper for inspiration. The sparrow was cut from the skylark paper pack. The sticker are ones I have had from another project as are the pearls. I loved the look of the card so much that I will be making some similar cards soon. CTMH colors used  are blush, lagoon, chocolate, sweet leaf, and desert sand. I am working now on a gift for her. Will take pictures of what I made for going away party soon.

Wednesday, July 9, 2014

No cricut, no problem

I made this card many years ago when I didn't have a cricut yet. I followed a tutorial from splitcoaststampers for this card. The front is set in similar to a picture frame. I added picket fence punch and I cut out the butterfly from patterned paper. The inside had a picture of our unit at the time. This was a welcome back card because my friend had been out on sick leave several months and was returning to work. This card was easily made with my paper trimmer and scorer. If you want me to find the tutorial, let me know in the comments. Thank you for stopping by. I am working on a bigger project and card for later this week.

Monday, July 7, 2014

Hope you had a great 4th of July!

I saw a similar card to this and decided to try to recreate it. I like how it turned out. Here's my card.
             Link to inspiration card   
I made it for a friend of mine who's husband serves in the army and she'd loves Americana things. The flag was made by stamping my CTMH star spangled blue ink in the upper corner and then I drew perfect medium stars on it and added white perfect pearls to it. The stripes were made with CTMH holiday red and I just swiped the ink across the card and hoped for the best. The planes were cut from cricut stand and statute cartridge. I also smeared an off white chalk ink pad in between the holiday red.  I will like the inspiration photo below.