Thank you stopping by!
Cathy of http://cathyplus5.blogspot.com/ had this amazing card on her facebook account.
 |
| Here's how I made my version of this card: |
 |
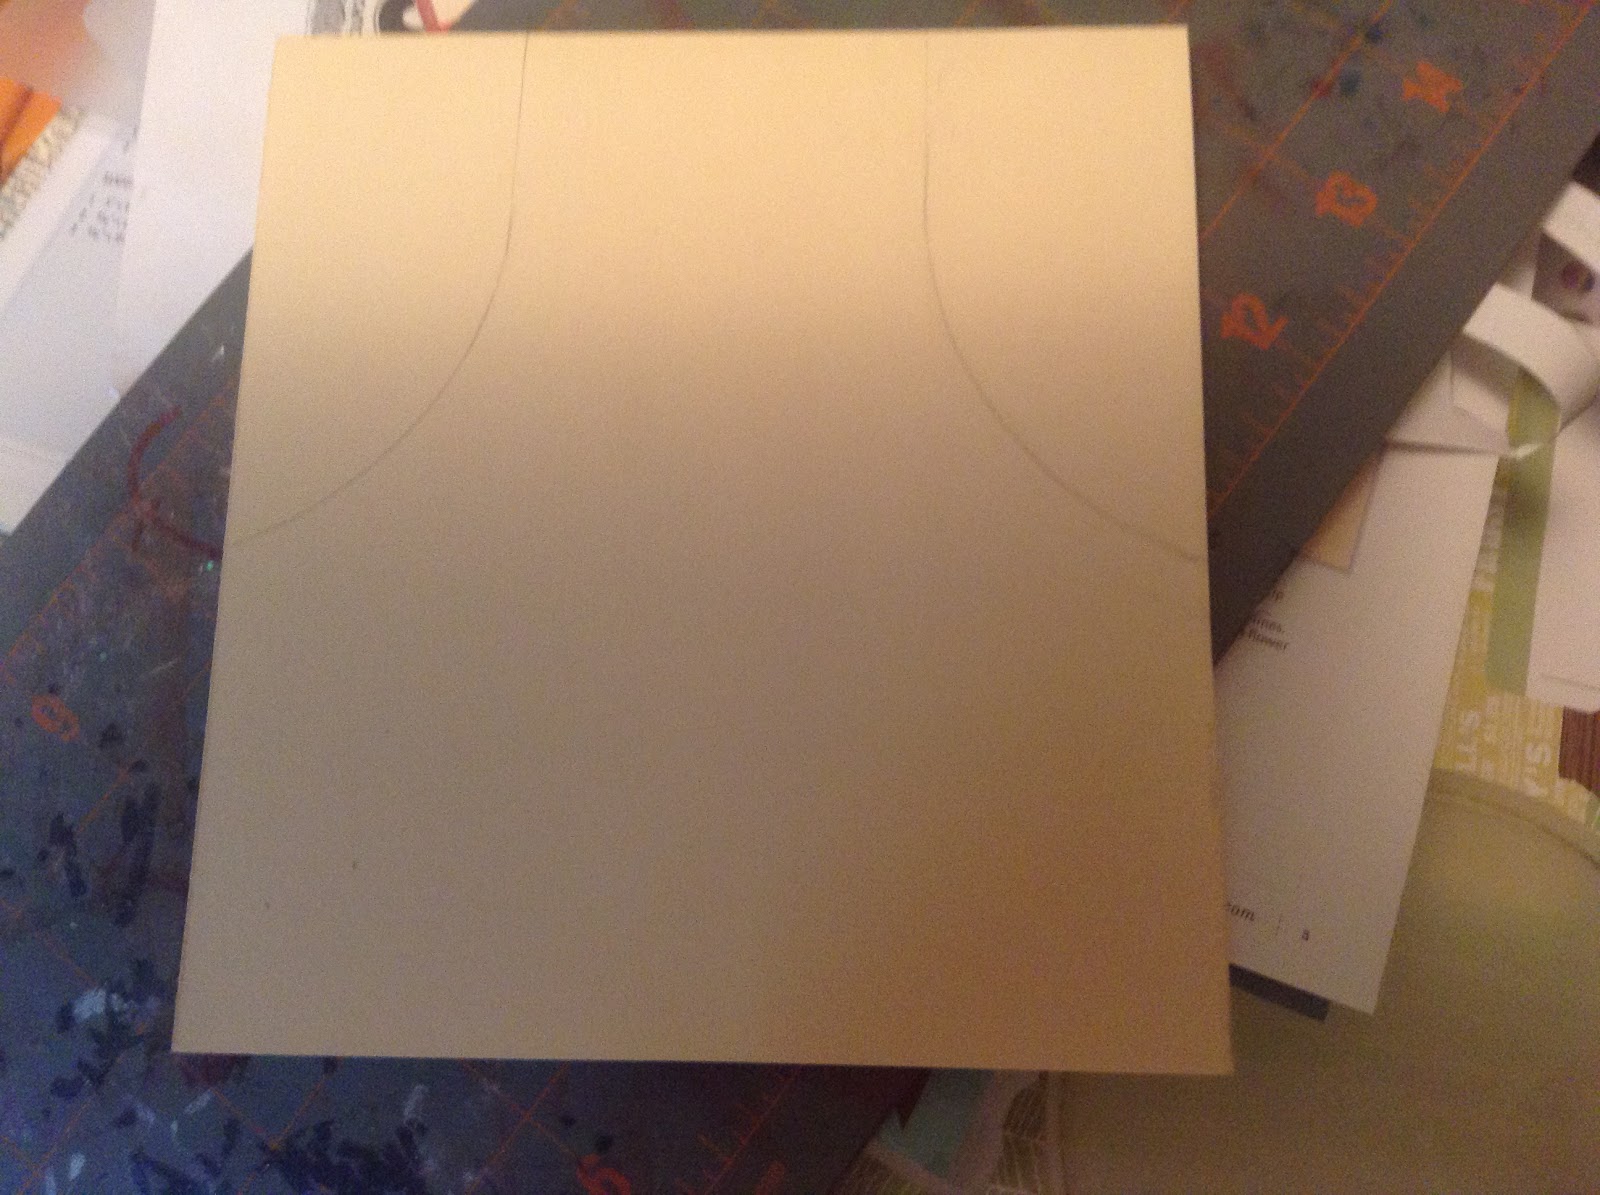
| I cut out both sides on the pencil line. I used the cut piece to make the pocket for the apron. I swiped lagoon ink over the piece and then aded the zip strip from the top of the skyline paper. Pictured above the card is what the piece looked like before I colored it with lagoon. Then I put bronze shimmer tape down the middle to cover the fold and I glue around the edge of the piece to make a pocket and cut the sides even. I stamped the heart from the Sweet and Lovely stamp set that comes with Artbooking Cricut collection.
I punched two holes in the top and tied a knot at the end of both sides of the cocoa ribbon in the back of the card. I also
scotch taped the ends down on the back so it would hold up better in the mail.

Here's the card in better lighting:
After I finished the card, I thought it needed something else. I added a pearl to the heart and then sentiment pulls out of the apron pocket. The edges were inked with a spongewith lagoon ink and so were the edges of the zip strip before glueing to pocket.
Here is the card with the sentiment hidden:
Products used can all be found on my CTMH website: www.frommtheheart.ctmh.com
Get this paper only thru 7/31/14!
Skylark zip strip came from http://frommtheheart.ctmh.com/Retail/Product.aspx?ItemID=7646&ci=271
Skylark expires 7/31/14 also, get it before it's gone!
Bronze shimmer trim http://frommtheheart.ctmh.com/Retail/Product.aspx?ItemID=7331&ci=904
Cocoa ribbon was retired and in my stash. Pearl was also from my stash. Shape inside was from a retired flower pot stamp set. stamped in slate and lagoon.
Thank you for reading my blog to the end. I would love it if you would follow my blog.
|


Thank you for the comment on my blog to answer a few of your questions...... I found some smaller pony beads at Michael's you could look at Hobby Lobby too they have a ton of beads. To deal the fumes I turned on the vent over the oven and picked a day when I could have the windows open too. I've thought about looking for a used toaster oven that I could take outside to make them too. I haven't tried the clear ones I just bought a mixed package and I haven't used all of them yet. I use youtube video editor to edit my videos it's free and fairly simple to use (which is very important for me). I'm glad that you enjoyed my coloring tutorial, I will admit that I'm not the best colorer in the world but I enjoy doing it so I guess that's what really matters. I hope that you enjoy your new markers it's fun to get new tools and learn to use them!! I really love having things ready to go when I want to make a card. I'm so glad that you were able to take some things from my crafty playing. Thank you again for your wonderful comment!!
ReplyDeleteCarla, you replied faster than I could finish my blog on the DIY enamel dots. I have it posted now and the link to your great tutorial is shown. I would love to see what you have used them on. I have been following your blog since you did that Twilight blog hop back in the day. I really liked your operation home card and if I could get in the habit of making more than one card that would be great. I tend to not mass produce. I am working on some thank you cards. I have used iMovie for my videos and I have used my iPad to video.
DeleteI just wanted to stop by and check out your tutorial:0 well done:)
ReplyDeletecathyplus5
Thank you so much Cathy for your design inspiration and for letting me share. You always do a great job!
ReplyDelete